Linear Motion Preload Checklist for Assembly

This linear preload checklist gives procurement managers a structured way to verify setup during assembly. It covers torque, alignment, and stiffness checks so teams can confirm the system meets design intent before release.
- Verify preload torque and direction against the manufacturer's drawing before locking down the assembly.
- Check alignment and mounting flatness to avoid uneven preload and accelerated wear.
- Measure stiffness and backlash after final assembly to confirm the system performs as specified.
- Record all values in a traceable log for future troubleshooting and warranty claims.
Why Preload Verification Matters During Setup
Linear preload sets the contact force between the rolling element and the race. This force removes play in the bearing, increases stiffness, and improves positioning accuracy. When preload is too low, the system absorbs more error before the load moves. When it is too high, friction rises, heat builds, and the bearing life drops.
Procurement managers often see a signed-off design document and assume the field team will handle the rest. That is a risky assumption. A bearing can arrive in perfect condition and still perform poorly if the preload is set incorrectly during installation. A simple verification step catches problems before they become production losses.
This checklist is designed for the handoff moment. It is the point where the design team’s intent meets the physical part. The goal is not to turn the procurement manager into a bearing engineer. The goal is to confirm that the installation team followed the procedure and that the final unit behaves the way the design intended.
Pre-Assembly: Confirm the Right Part and the Right Procedure
The first failure point is rarely the preload itself. It is the wrong part or the wrong instruction sheet. Before the team touches the bearing, they should confirm the part number against the engineering drawing. A single digit difference can change the preload type, the race material, or the clearance.
Review the assembly procedure for the specific bearing model. Different manufacturers use different terms for preload. Some specify a preload torque in inch-pounds. Others specify a preload gap in millimeters. A third option is a specific gap or a specific gap. The procedure must match the part. If the procedure is generic, the risk of error rises.
Check the torque specifications for all fasteners. A bearing can have correct internal preload but still fail if the housing bolt torque is off. Uneven housing torque bends the race. That bend changes the contact angle and the effective preload. The checklist should include the housing torque value, not just the bearing torque.
| Check Item | What to Verify | Failure Mode if Wrong |
|---|---|---|
| Part Number | Matches engineering drawing exactly | Wrong preload class or clearance |
| Torque Spec | Matches manufacturer data sheet | Uneven preload or housing distortion |
| Assembly Doc | Specific to the bearing model | Generic steps cause skipped steps |
| Fastener Hardware | Correct grade and length | Stripped threads or improper clamping |
| Cleaning | Parts free of debris and oil | Contamination accelerates wear |
A common mistake is using a torque wrench that has not been calibrated. A torque wrench drifts over time. If the wrench has not been checked within the last year, the values are estimates. That is not good enough for a precision assembly. Use a calibrated tool. Record the calibration date on the work order. This creates a paper trail that protects the company if the system fails later.
Alignment and Mounting Surface Checks
Preload is sensitive to alignment. If the bearing is installed in a housing that is not square, the preload becomes uneven. One side of the bearing takes more load. The other side takes less. The result is a system that feels stiff in one direction and loose in the other.
Check the mounting surface with a dial indicator or a precision level. The surface should be flat within the tolerance specified in the design document. If the surface is not flat, shimming may be required. Shimming is acceptable, but it must be done intentionally. Do not shim randomly to get the part to fit. Shim to correct a known geometric error.
Verify the position of the bearing in the housing. If the bearing is not fully seated, the preload will be lower than designed. The bearing should sit flush against the housing bore or the shaft. A small gap of even a few thousandths of an inch changes the preload. Tap the bearing gently if necessary to ensure it is seated. Never hammer the bearing. Use a press or a soft mallet on a drift.
Check the orientation of the bearing. Some bearings are directional. They must face the correct way to allow proper lubrication and to match the preload arrangement. If the bearing is installed backwards, the preload may be zero or reversed. This is a simple check, but it is a frequent error.
During Assembly: Torque and Direction Control
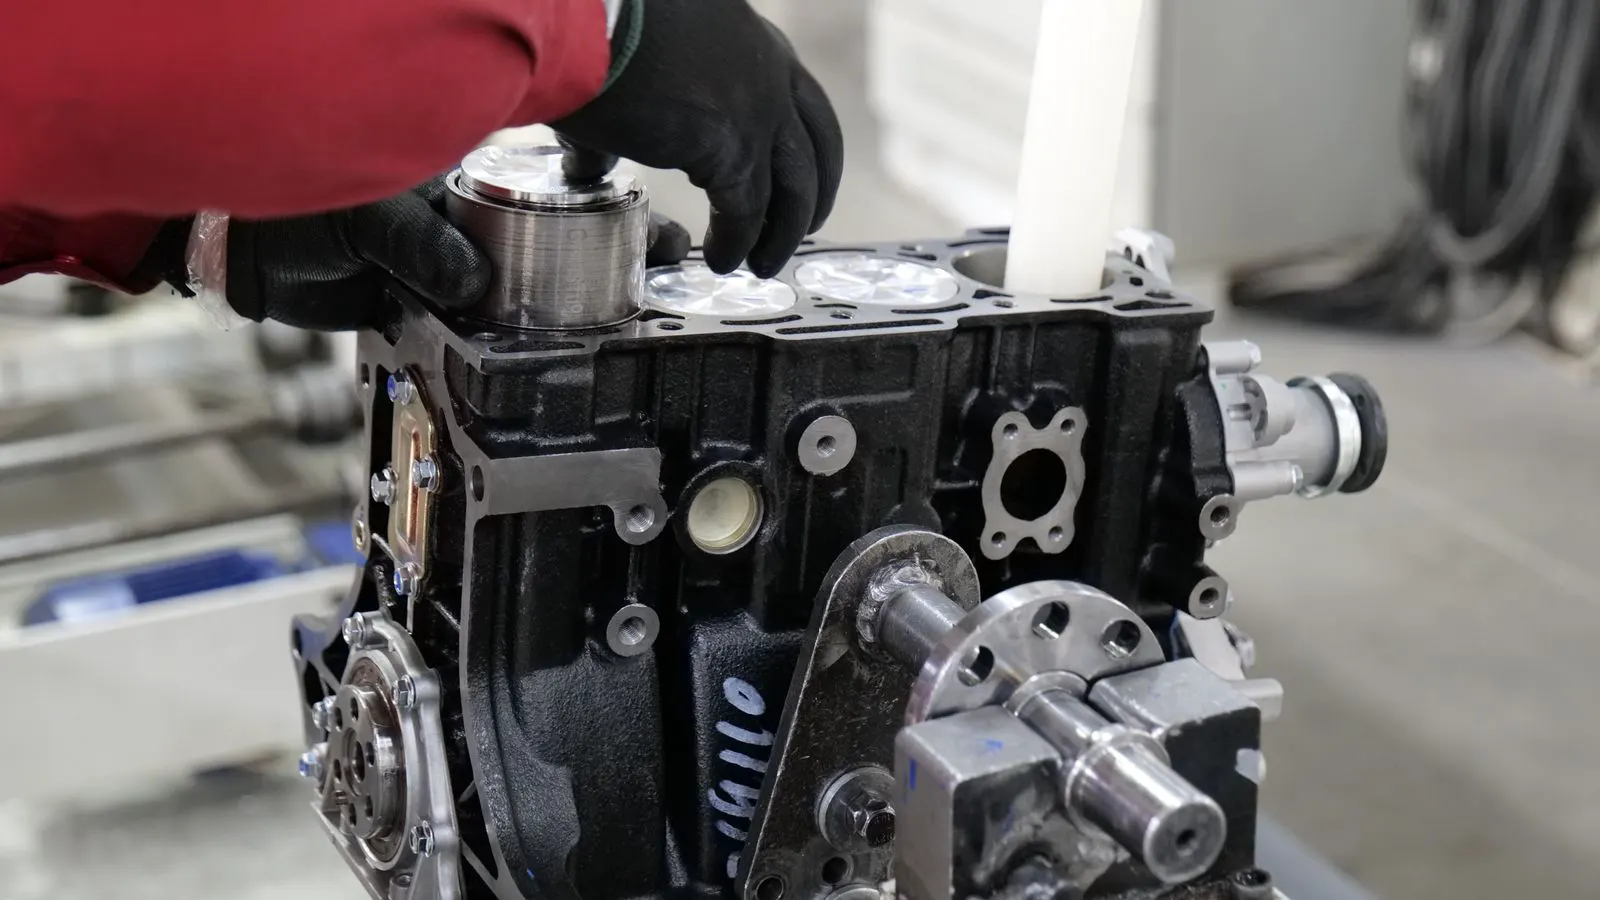
The physical act of setting preload is where most errors happen. The procedure will specify a torque value or a gap value. The installer must follow that value exactly. Do not add a small amount of “just in case” torque. That extra torque adds more preload than designed.
Use a torque wrench with a click-off feature. The click confirms the torque value has been reached. If the procedure requires a specific gap, use a feeler gauge or a dial indicator to measure the gap. Do not estimate the gap by feel.
If the procedure requires multiple passes, follow the sequence. Some bearings require a torque pass, then a gap check, then a final torque pass. Skipping a step leaves the preload undefined. The final value is the one that counts.
Record the torque value on the work order. If the procedure requires a gap, record the gap value. If the value is outside the specified range, stop. Do not continue. Contact the engineering team. This is the point where a small correction is cheap. If the system is already in production, the correction is expensive.
A red flag is a torque value that is significantly different from the previous unit. If the previous unit required 15 inch-pounds and this one requires 25 inch-pounds, something is wrong. The housing may be dirty. The bearing may be damaged. The shaft may be bent. Investigate before proceeding.
Post-Assembly: Stiffness and Backlash Verification
The final check is to confirm that the system behaves as designed. The most direct way to do this is to measure stiffness. Stiffness is the ratio of force applied to displacement. A higher stiffness value means the system resists movement.
Apply a known force to the bearing. Measure the displacement. Calculate the stiffness. Compare the result to the design target. If the stiffness is lower than expected, the preload is likely too low. If the stiffness is higher than expected, the preload may be too high, or the system may be over-constrained.
Check backlash as well. Backlash is the play in the system before the load takes up the preload. A properly preloaded bearing should have zero or near-zero backlash. If backlash is present, the preload is not set correctly, or there is a mechanical error in the housing or shaft.
Use a dial indicator to measure backlash. Push the shaft in both directions and observe the indicator. The movement should be minimal. If the indicator shows more movement than the specification allows, the system is not ready.
A red flag is a stiffness value that changes with temperature. If the stiffness is high when the system is cold and drops when it warms up, the preload may be too high. The bearing is generating heat and expanding. That expansion changes the contact geometry.
Documentation and Traceability
The checklist is only useful if the results are recorded. A work order with a blank torque field is no different from no work order. The value must be written down. The date must be written down. The name of the person who performed the check must be written down.
This record serves two purposes. First, it provides a baseline for future troubleshooting. If the system develops a problem six months from now, the team can look at the original values. Second, it supports warranty claims. If the bearing fails, the manufacturer will ask for the installation record. If the record shows the preload was set correctly, the claim is stronger.
Create a simple form. A one-page sheet with the part number, the torque value, the gap value, the stiffness result, and the backlash result. Keep a copy in the equipment file. Keep a copy in the engineering file. This is not bureaucratic overhead. This is quality control.
Red Flags That Should Stop the Process
Some signs mean the assembly is not correct. Do not ignore them.
- The torque value is outside the specified range.
- The bearing does not seat flush in the housing.
- The stiffness measurement is significantly lower than the design target.
- Backlash is present in a zero-backlash application.
- The bearing is noisy or hot after a short test run.
- The housing is bent or the shaft is misaligned.
If any of these flags appear, stop. Do not ship the unit. Do not start the production line. Call the engineer. The cost of a two-hour delay is far less than the cost of a failed line.
Final Handoff: What Procurement Should Sign Off
The procurement manager’s role is to confirm that the checklist is complete. The signature on the work order is a statement that the values were recorded and that the system passed the checks. It is not a statement that the engineer understands every detail. It is a statement that the process was followed.
If the checklist is incomplete, do not sign off. If the values are missing, ask for them. If the stiffness is out of range, ask for the engineering review. The goal is to release a unit that is verified. The goal is not to release a unit that is finished.
A verified unit is a unit that will perform. A finished unit is a unit that may or may not perform. The difference is the checklist.
Frequently asked questions
How do I know if the preload is too high?
If the stiffness is significantly higher than the design target and the bearing runs hot, the preload is likely too high. Check the temperature after a short test run.
What is the difference between preload and backlash?
Preload is the force applied to remove play. Backlash is the play that remains when preload is not set correctly. A properly preloaded bearing has zero backlash.
Can I adjust preload after the system is installed?
It depends on the design. Some bearings allow adjustment via a lock nut or a shim. Others do not. Check the manufacturer's procedure before attempting any adjustment.
Do I need to check stiffness for every unit?
It is recommended for precision applications. For high-volume production, a statistical sample may be sufficient, but the sample size must be defined in the quality plan.
What if the torque value is slightly out of range?
If the value is slightly out of range, stop and investigate. Do not assume it is acceptable. A small deviation can indicate a dirty housing or a damaged bearing.